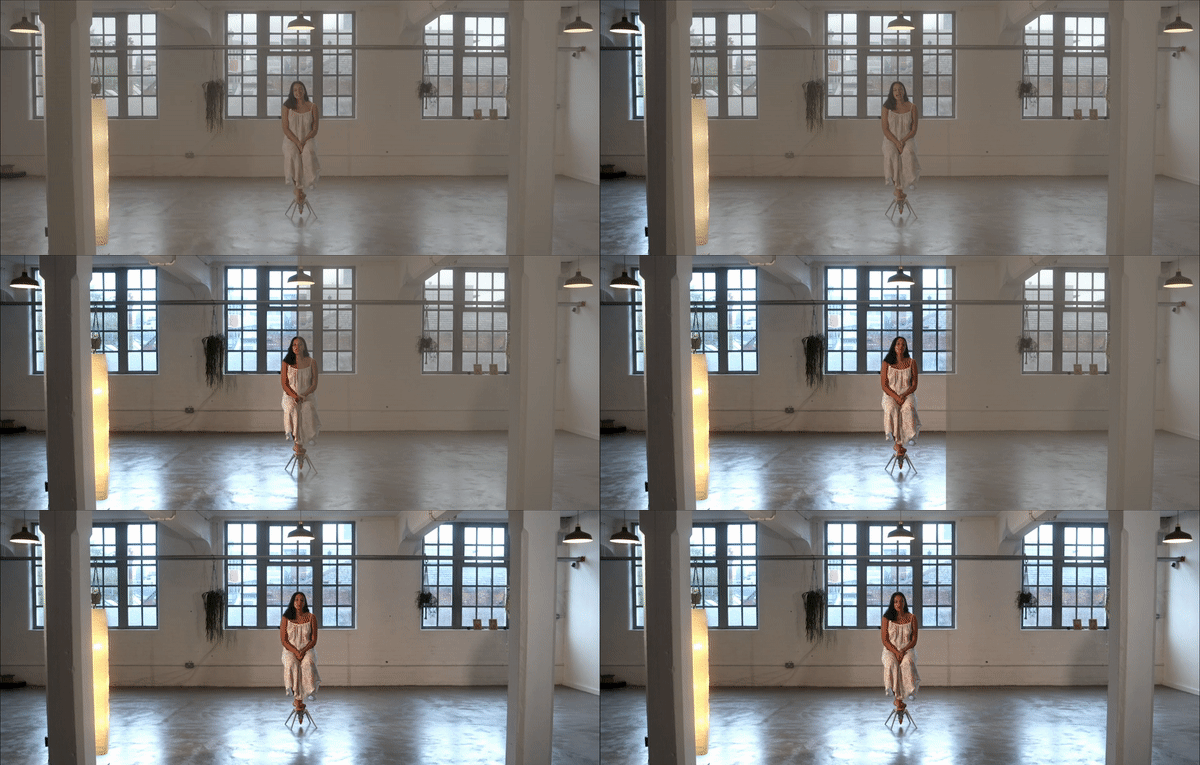
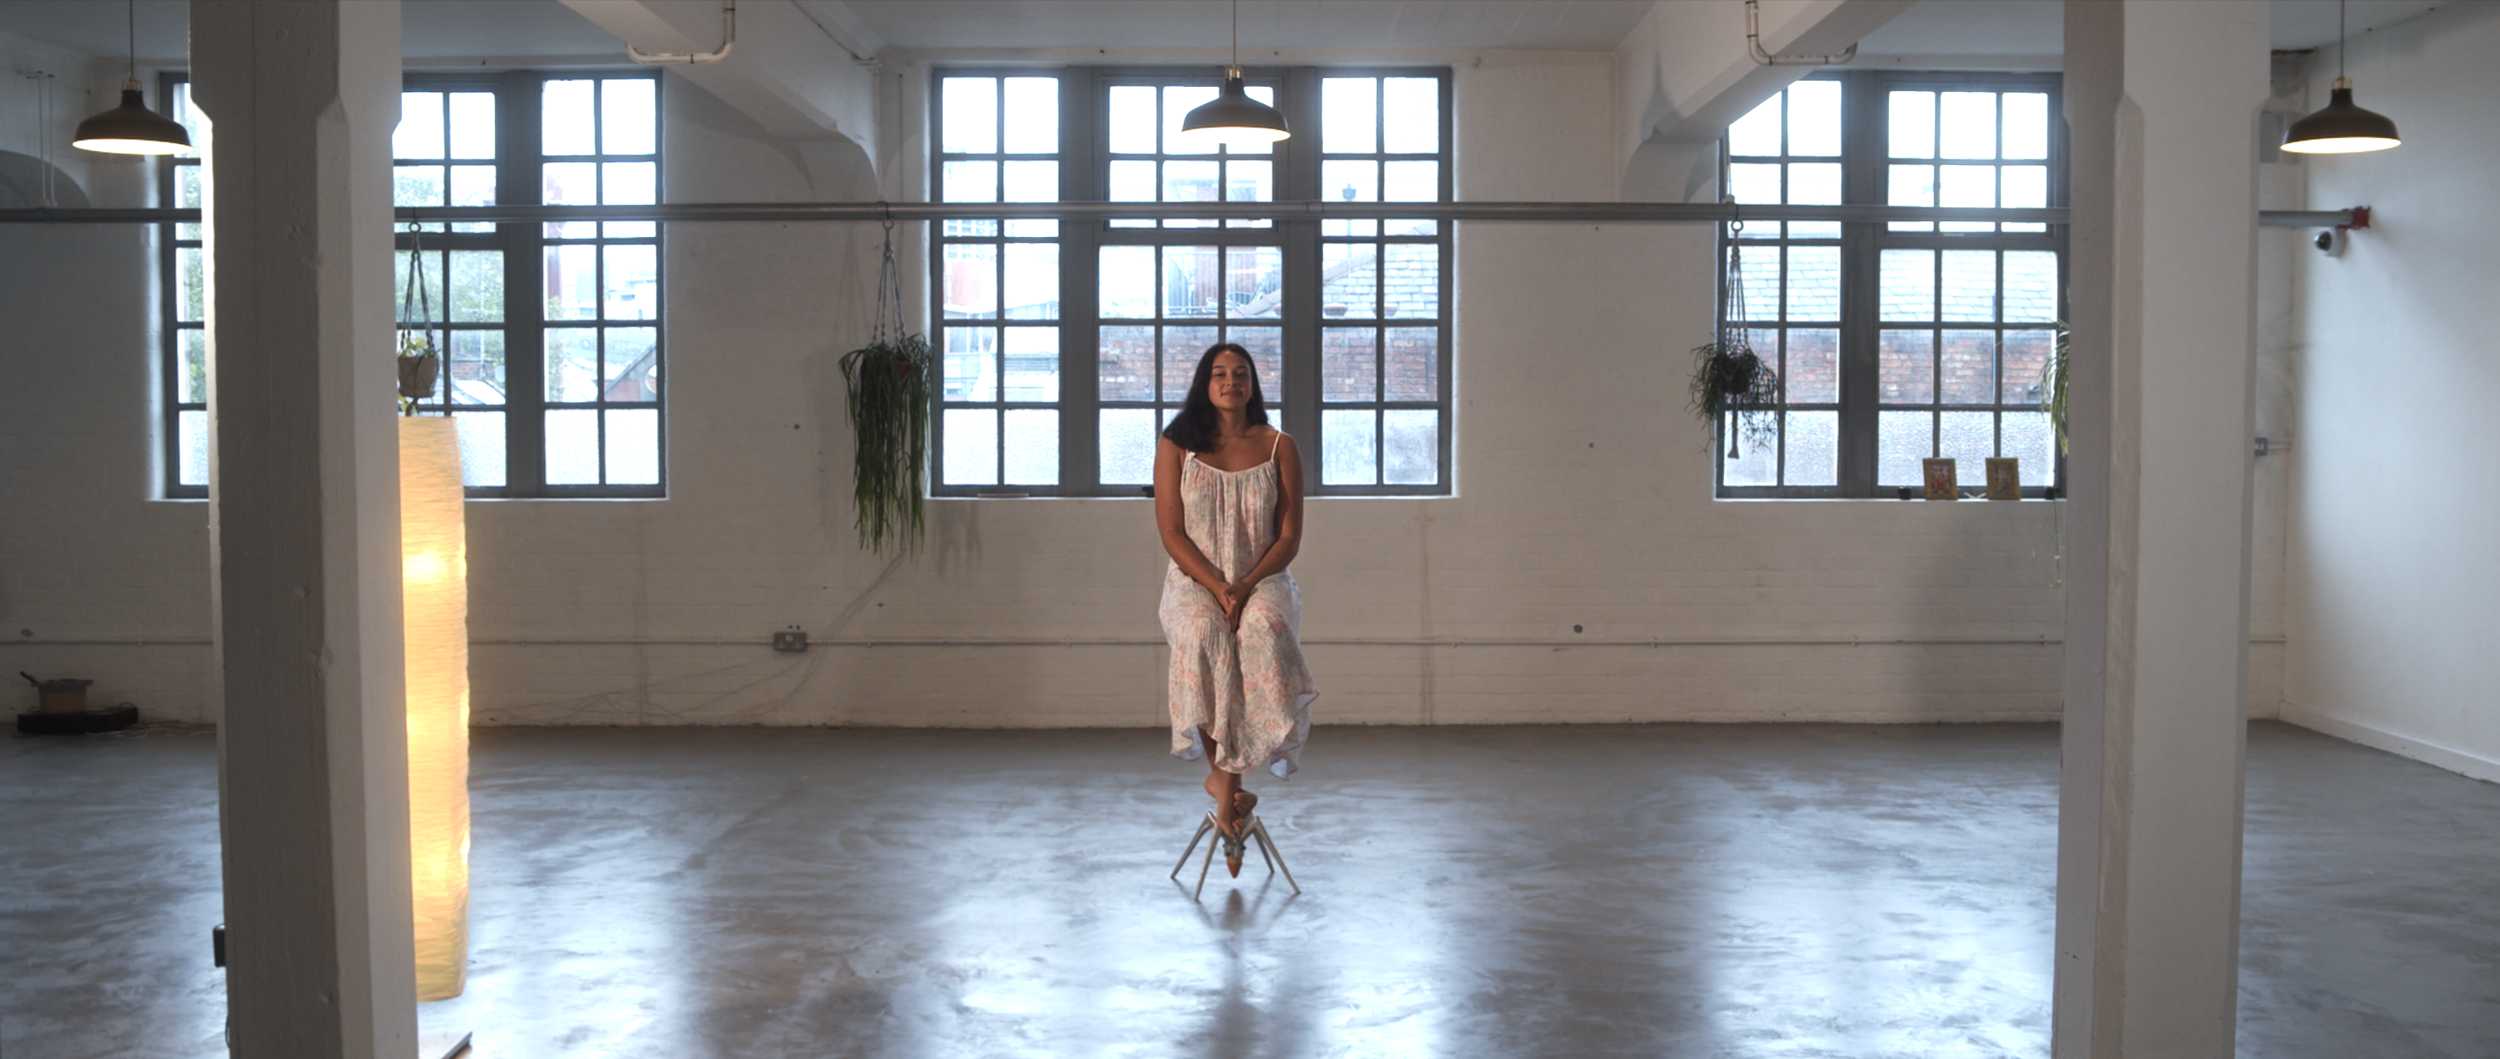
Often clients don’t know what goes in to making their final film’s image “pop” and stand out. The image they end up with in their final film is usually wildly different to what was captured on the day. To showcase this we though we would quickly take you through a breakdown of a shot from one of our recent shoots and explain the layers we used to create the final film.
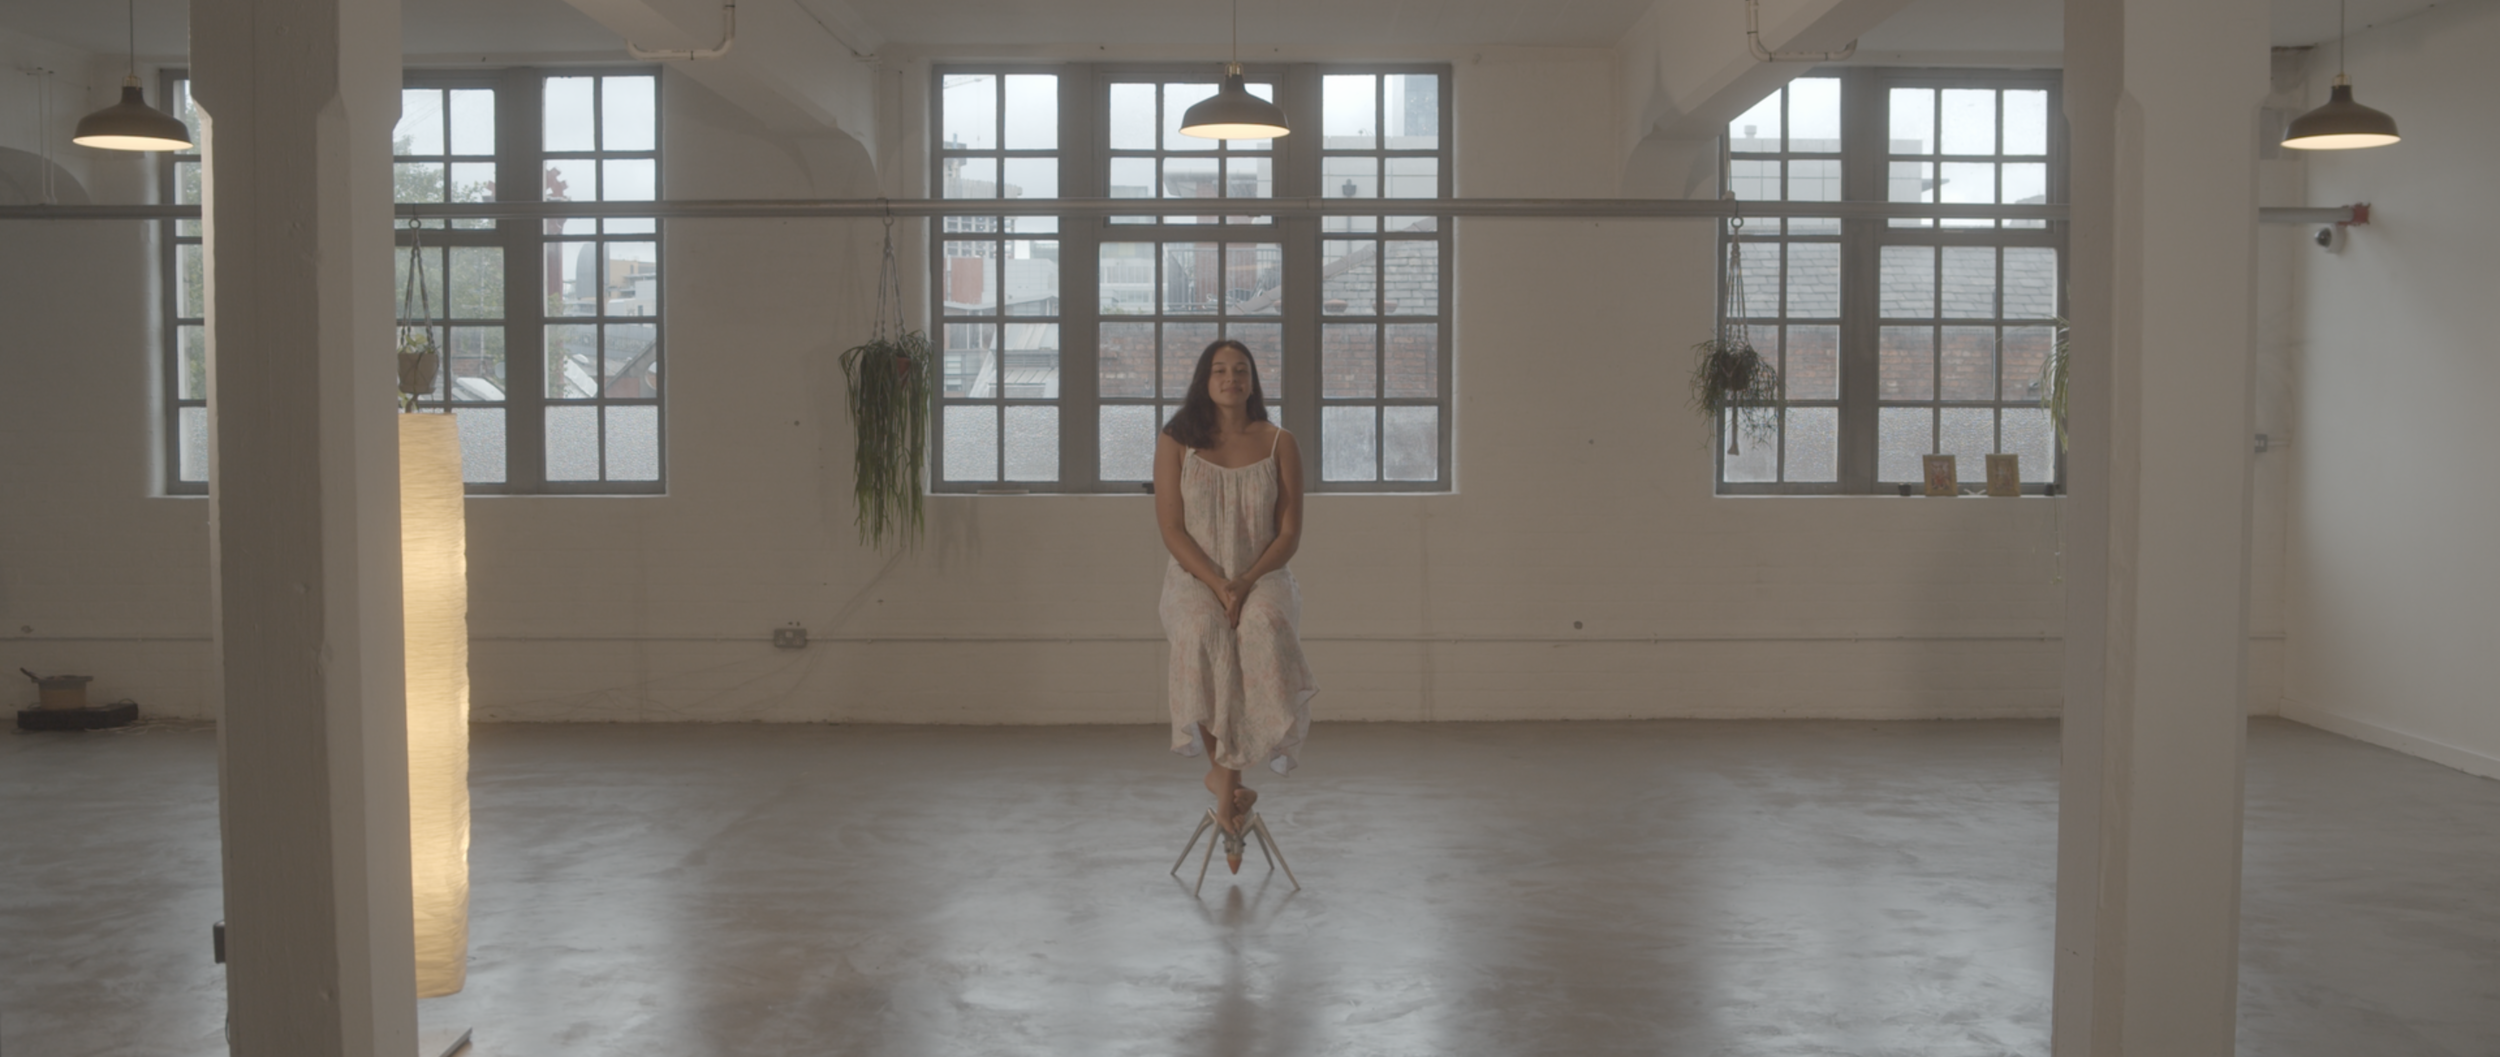
We shoot the majority of our footage in LOG as RAW files. The simplest explanation for what this this means is that we get an image out of camera that looks very flat - the reason for this is that it gives us the widest scope to colour grade and add the colour back in without the image falling apart and getting too grainy and messy - we want the cleanest image to begin with that is the most malleable, so that we get the cleanest image at the end of the process.
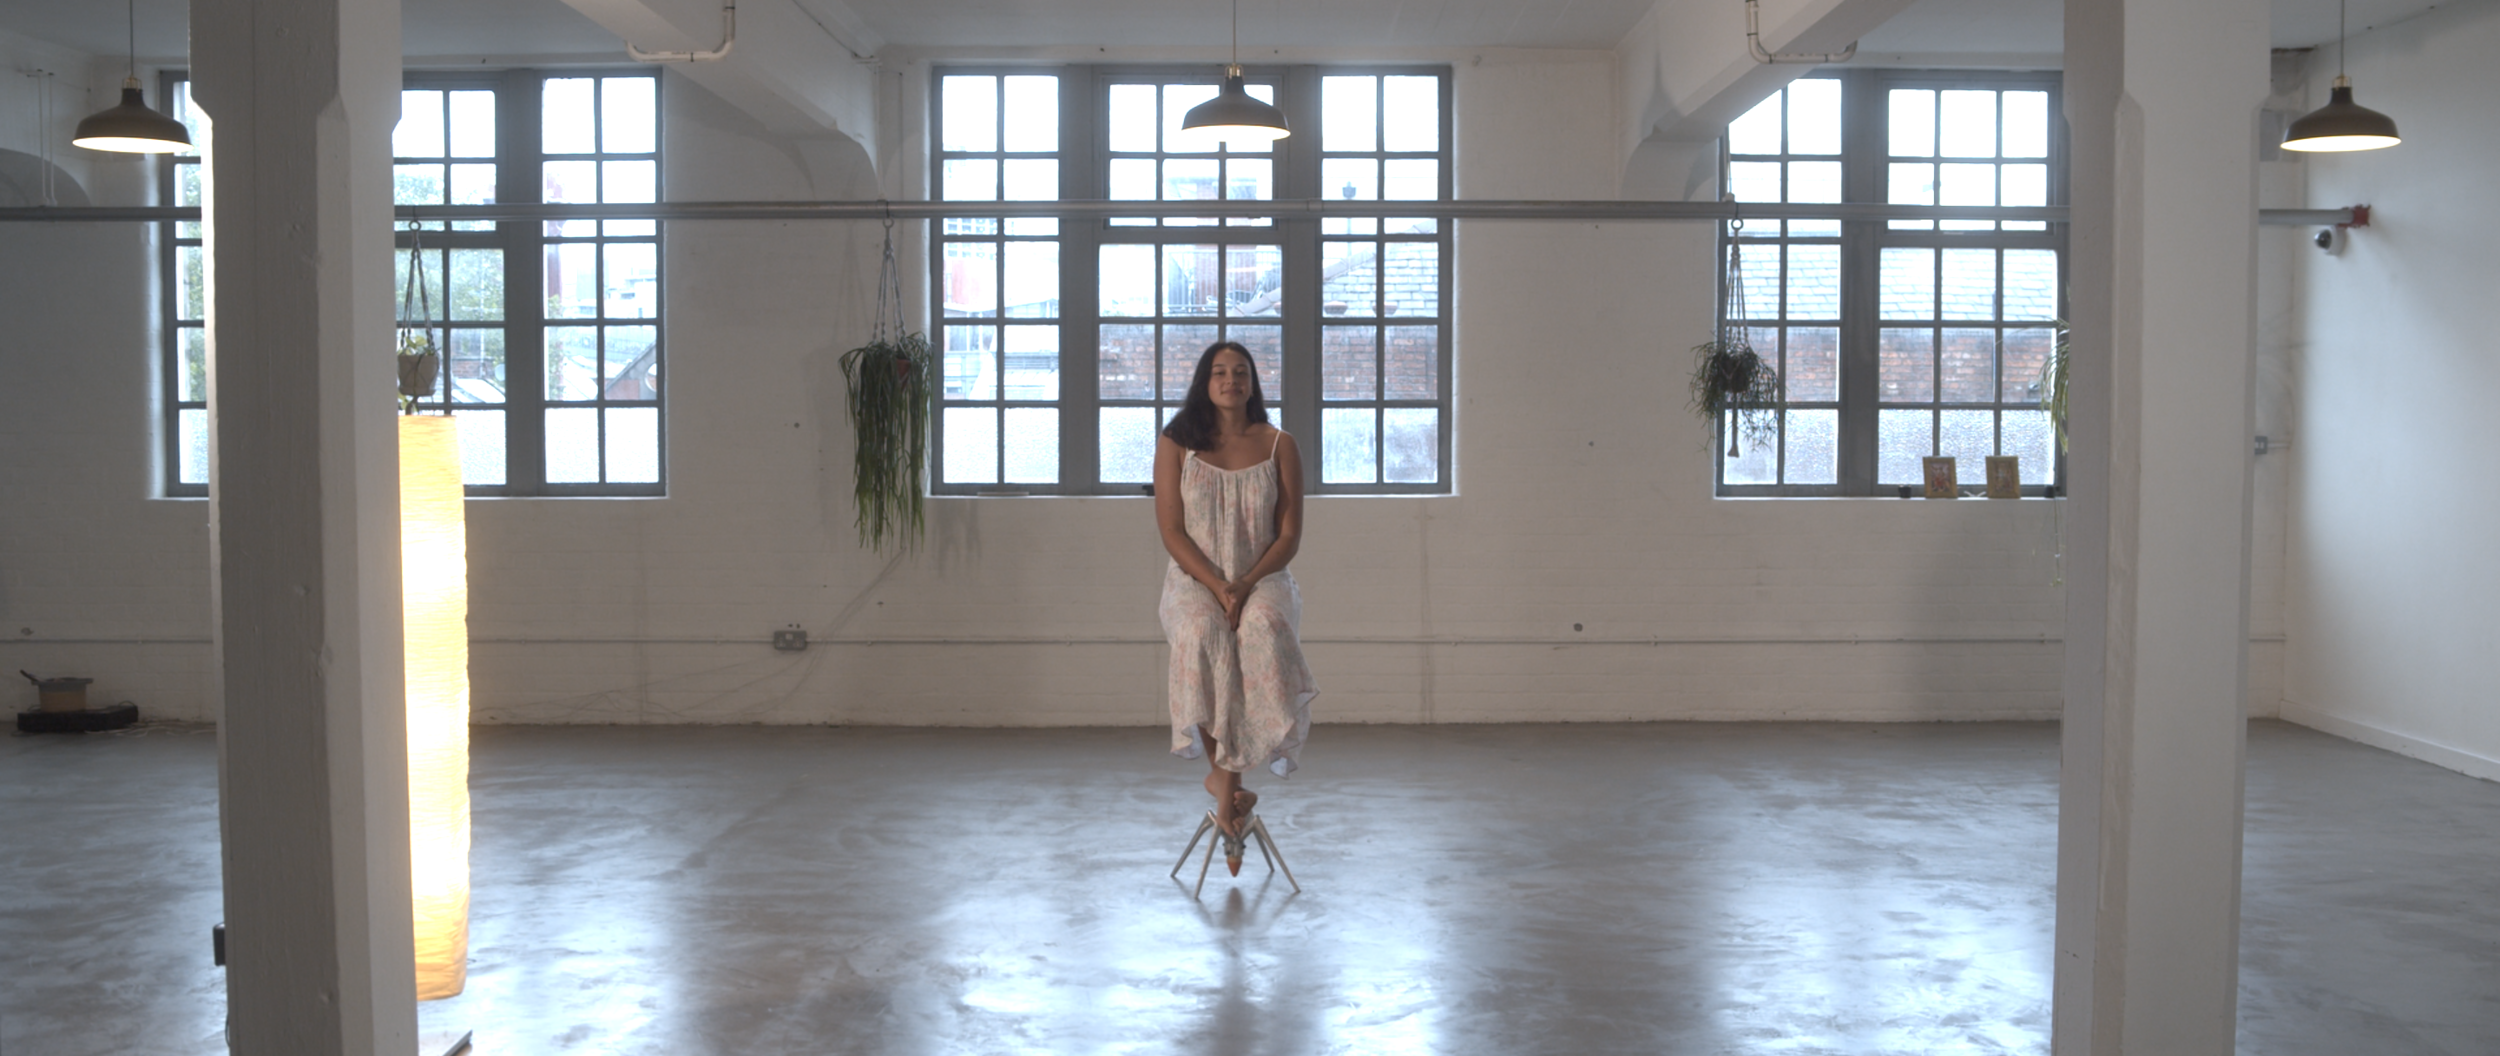
Next up, we put our footage in to a Rec709 colour space - the image is more saturated and as you can see; we now have the contrast between the warmth of the interior light and the blue of the natural daylight. The highlights are quite bright both on the lamp and the city outside - however, we can correct this due to the dynamic range of our camera and how we have measured the light on the shoot.
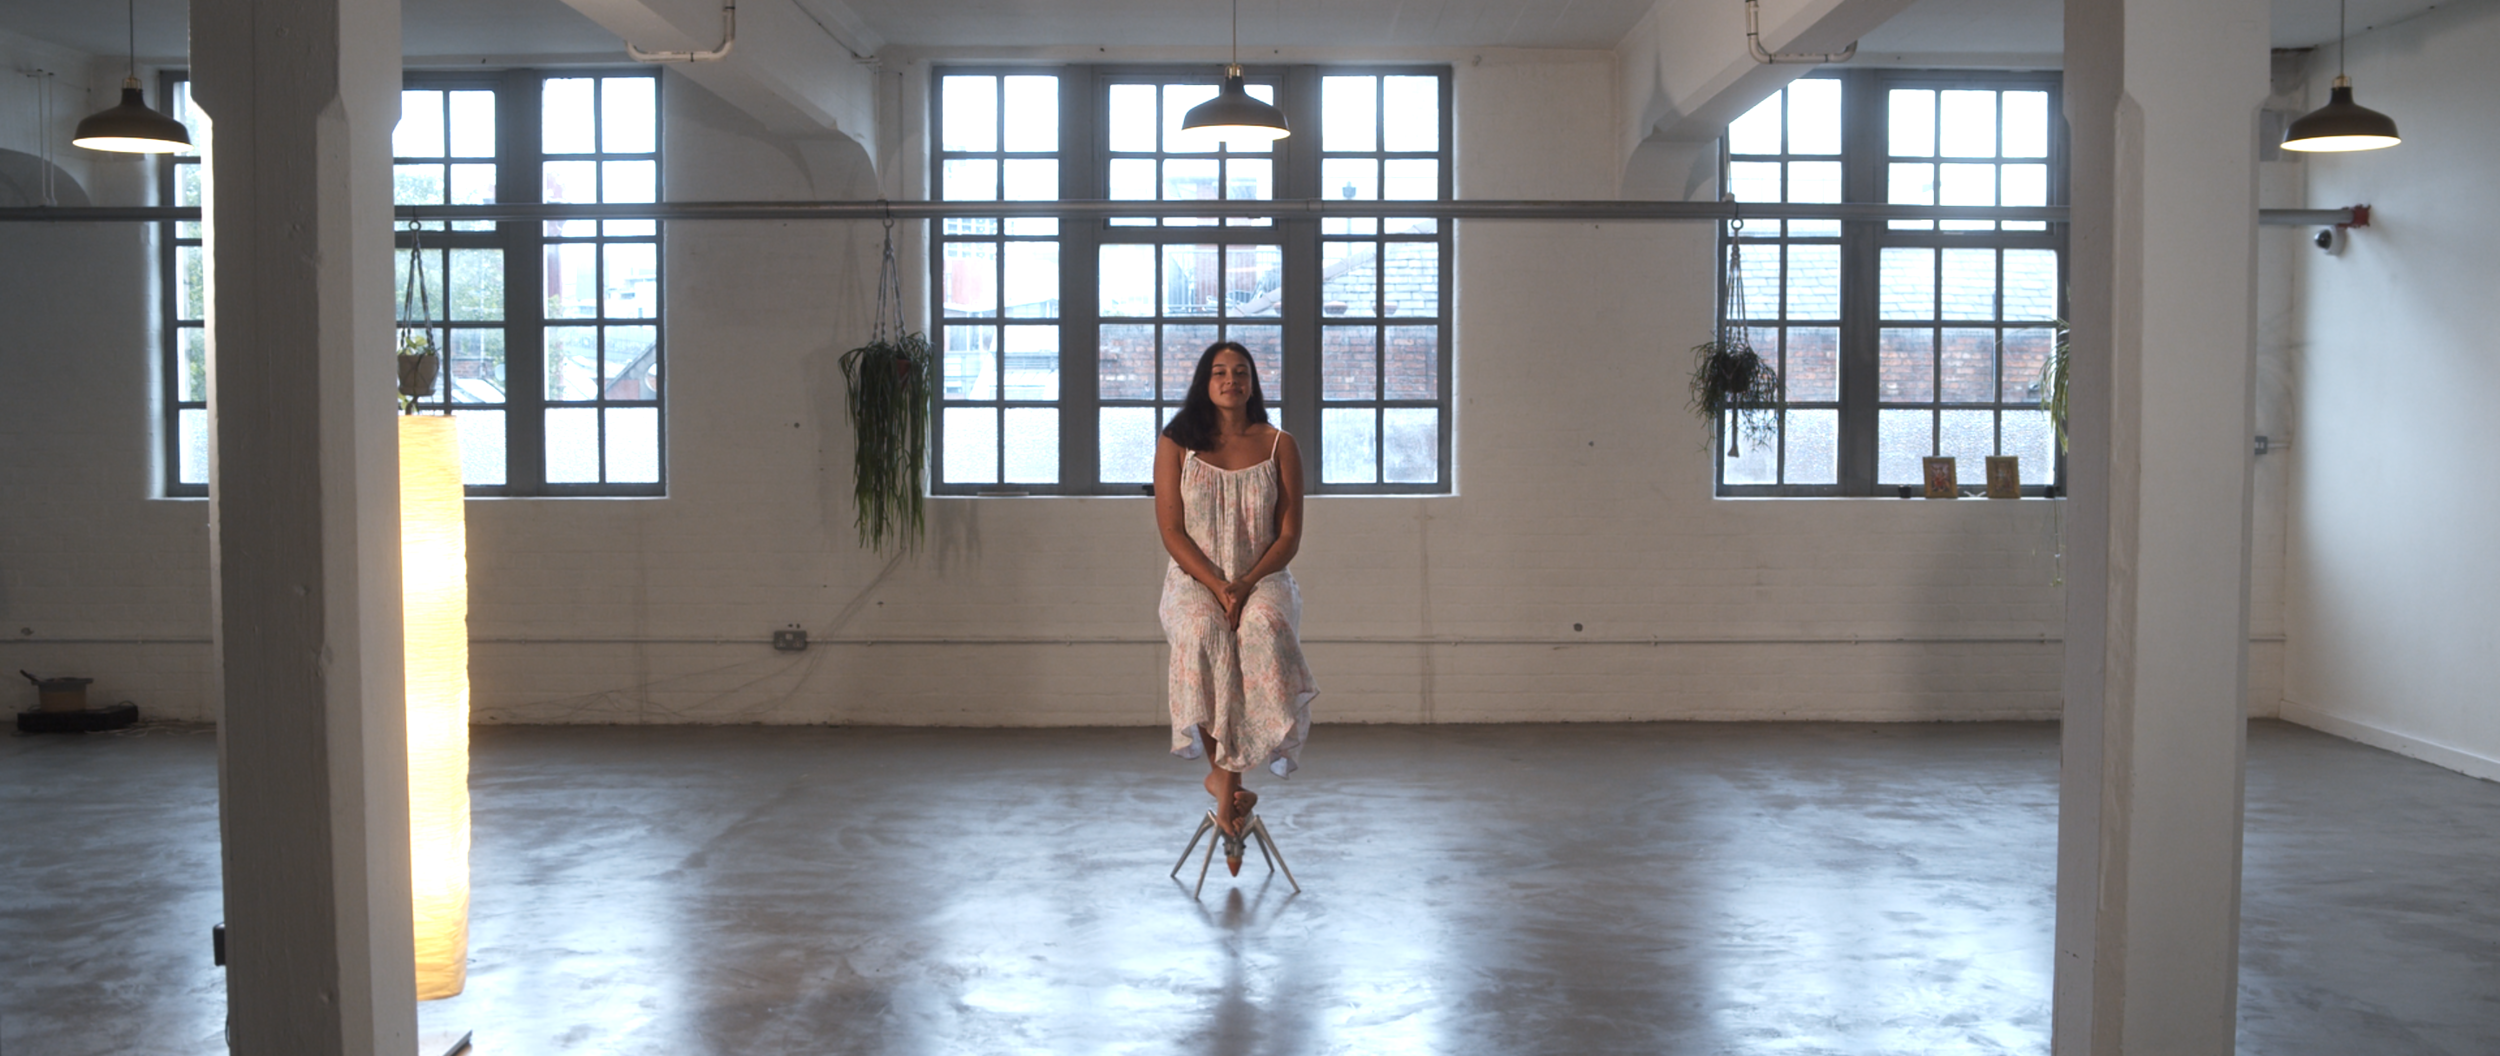
We first add more contrast and “punch” to the image..
..before isolating our subject and brightening her up, making her stand out from the background. Now we deal with those highlights.
As you can see, we have isolated our lamp on the left and brought down the brightness, as well as adjusting the colour to a slightly more pleasing shade.
To finish, we isolate the backdrop of the city outside and bring the highlights down to restore the detail of the buildings. These layers seen above are all tracked to the footage to ensure it is continuous. We add a small amount of 35mm film grain on top of the image to help “blend” it all together, giving us our final output.
